If you want to to Start an Online store and you don’t know where to start you are in the right place , this is beginner guide to start an online shopfy store.
lets begin the introduction of Shopify
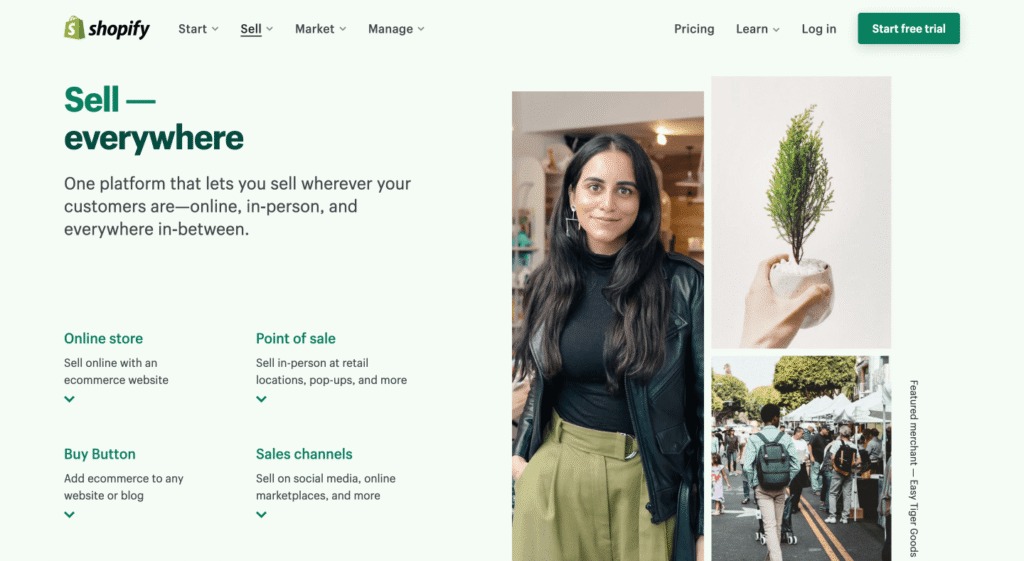
What is Shopify
Shopify is a powerful eCommerce platform that helps entrepreneurs to start their own online stores. It was founded in 2006 by Tobias Lütke, Daniel Weinand, and Scott Lake after attempting to open an online store for snowboarding equipment.
I mean, identifying a problem can lead to innovative solutions. Instead of just selling snowboards, they created a platform that helps others get started in eCommerce.
And now, Shopify is a platform for over 1.75 million merchants and it’s no surprise that so many businesses rely on it to sell their products online.
Step 1 : Sign up for Shopify
First, you need to sign up for a new Shopify account. You can do this on the Shopify website. Once you have an account, we can start building your online store.

The best part is that Shopify offers a 3-day free trial + 3 months of Shopify for just $1, so you can try out the entire platform risk-free.
→Click here to Sign Shopify enter your email, and hit the “Start free trial” button

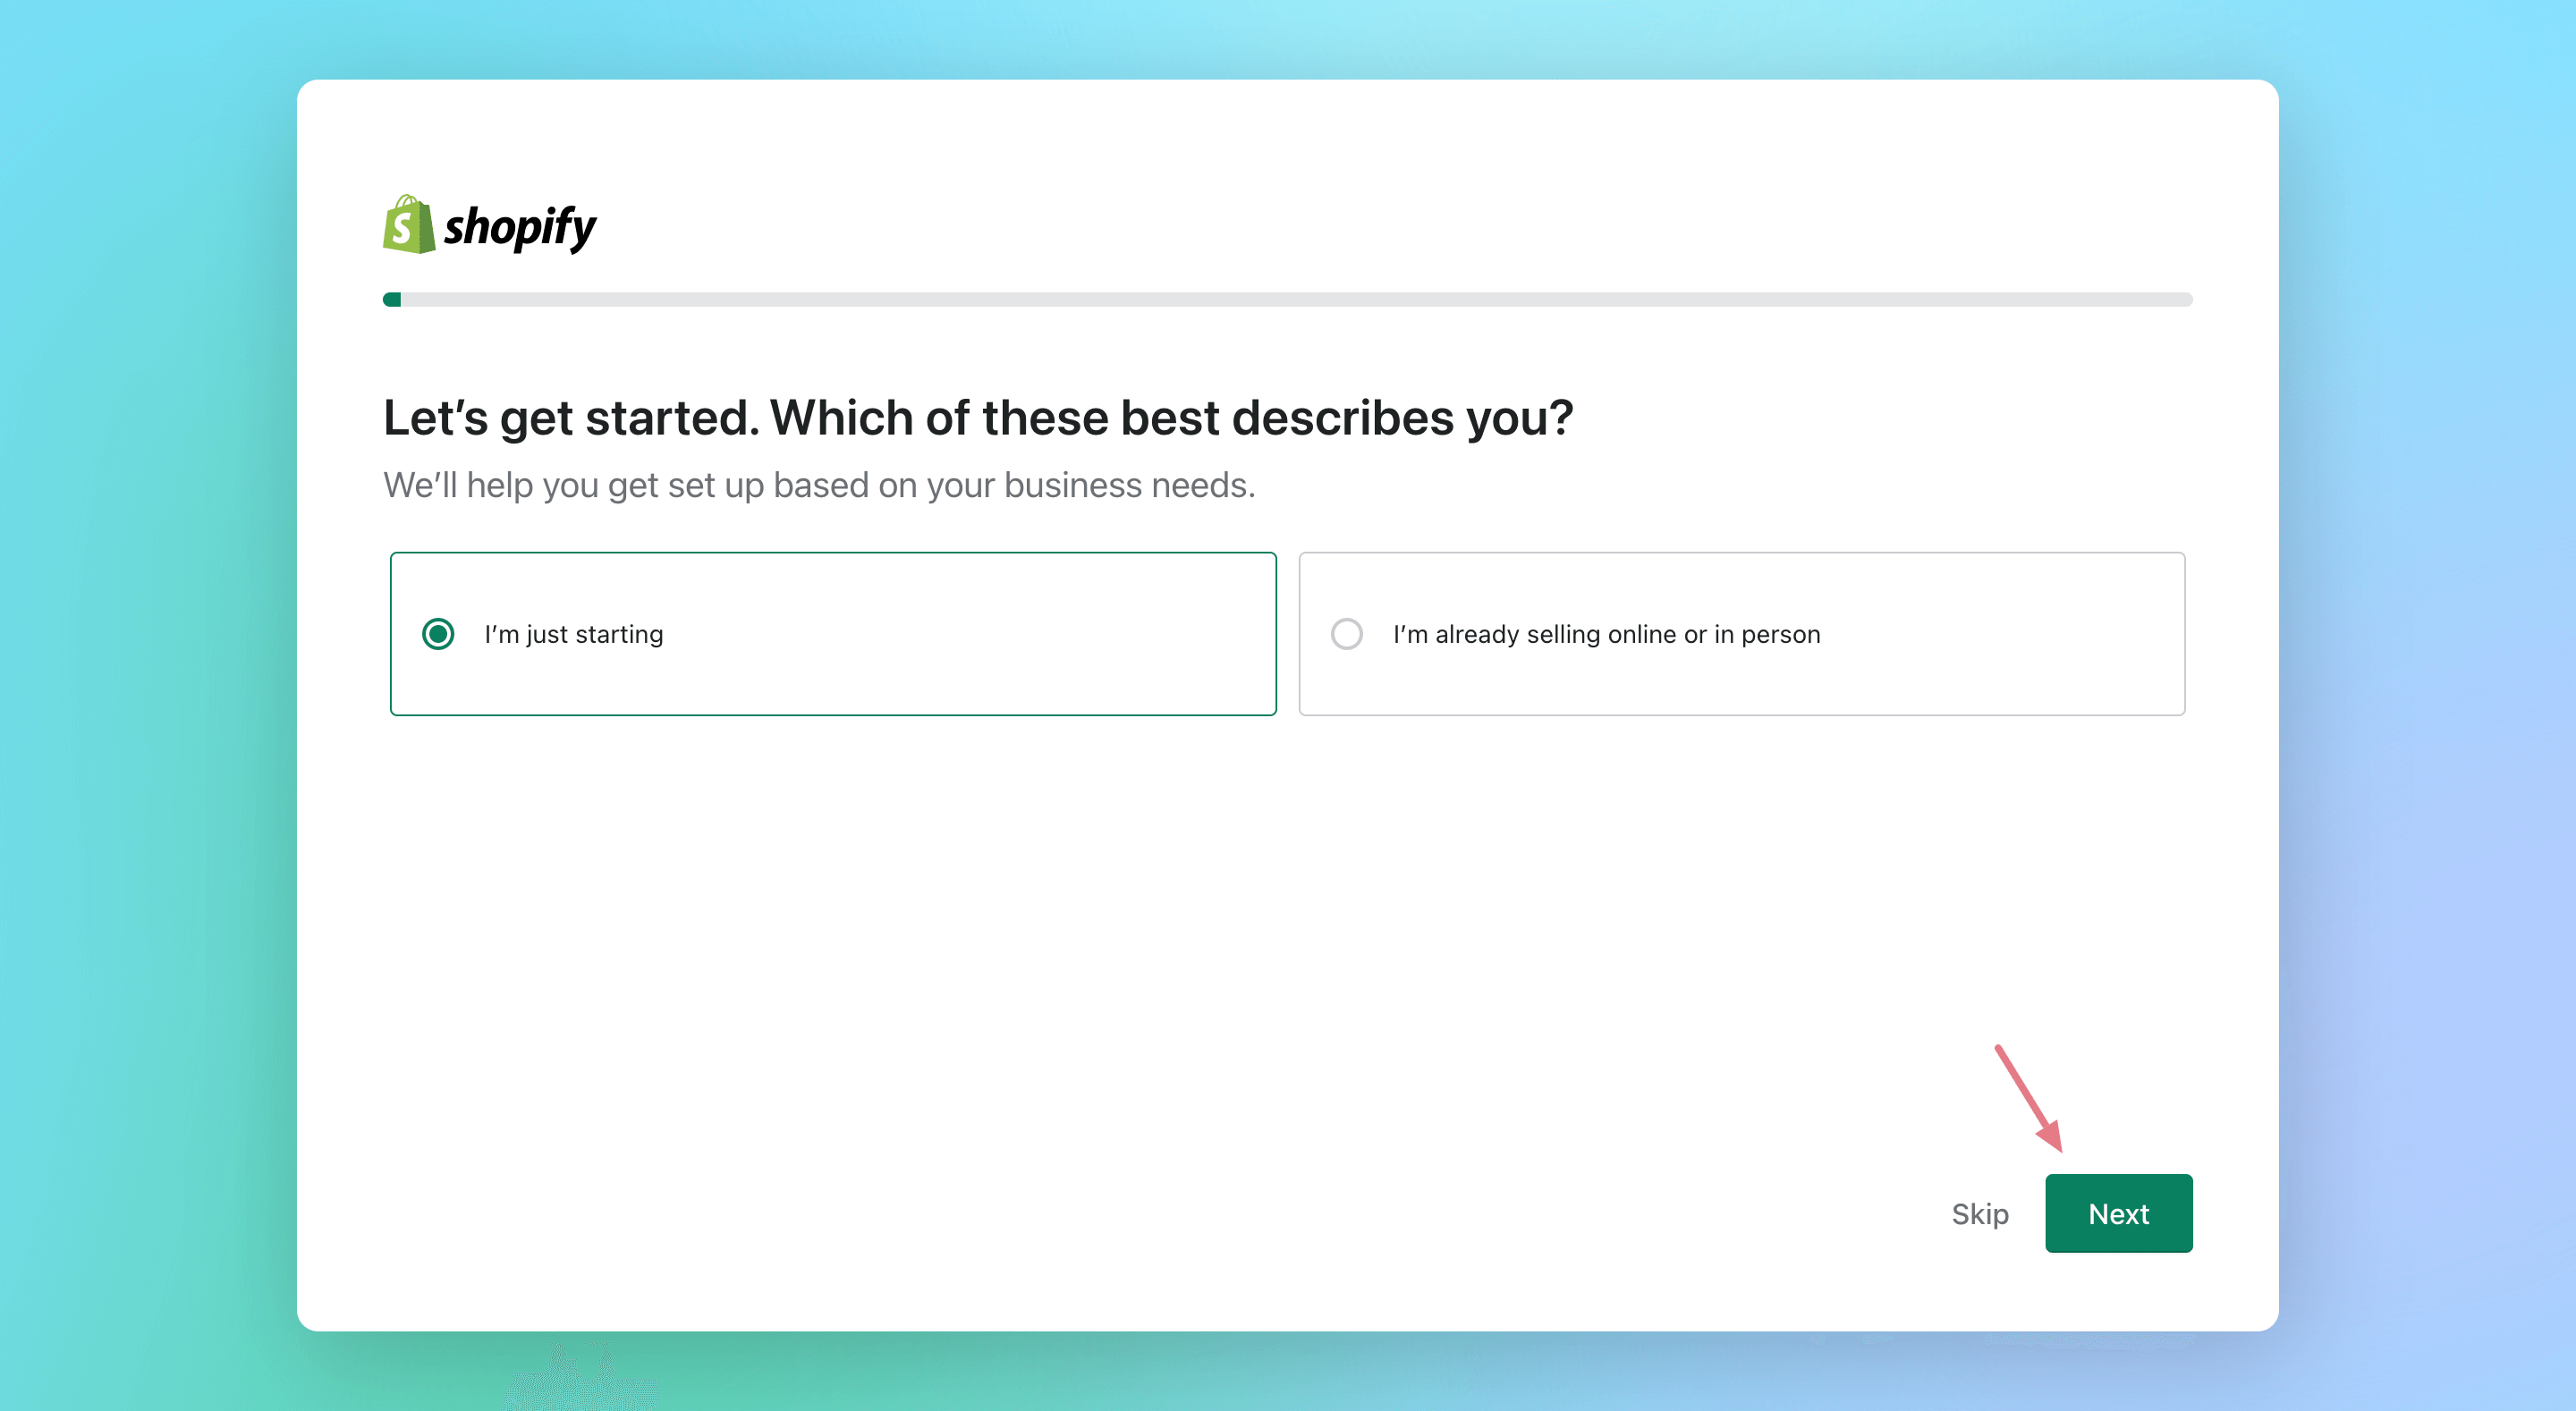
After that, Shopify will ask you about your experience. If you have never set up a store before, select “I’m just starting” and then click “Next.”
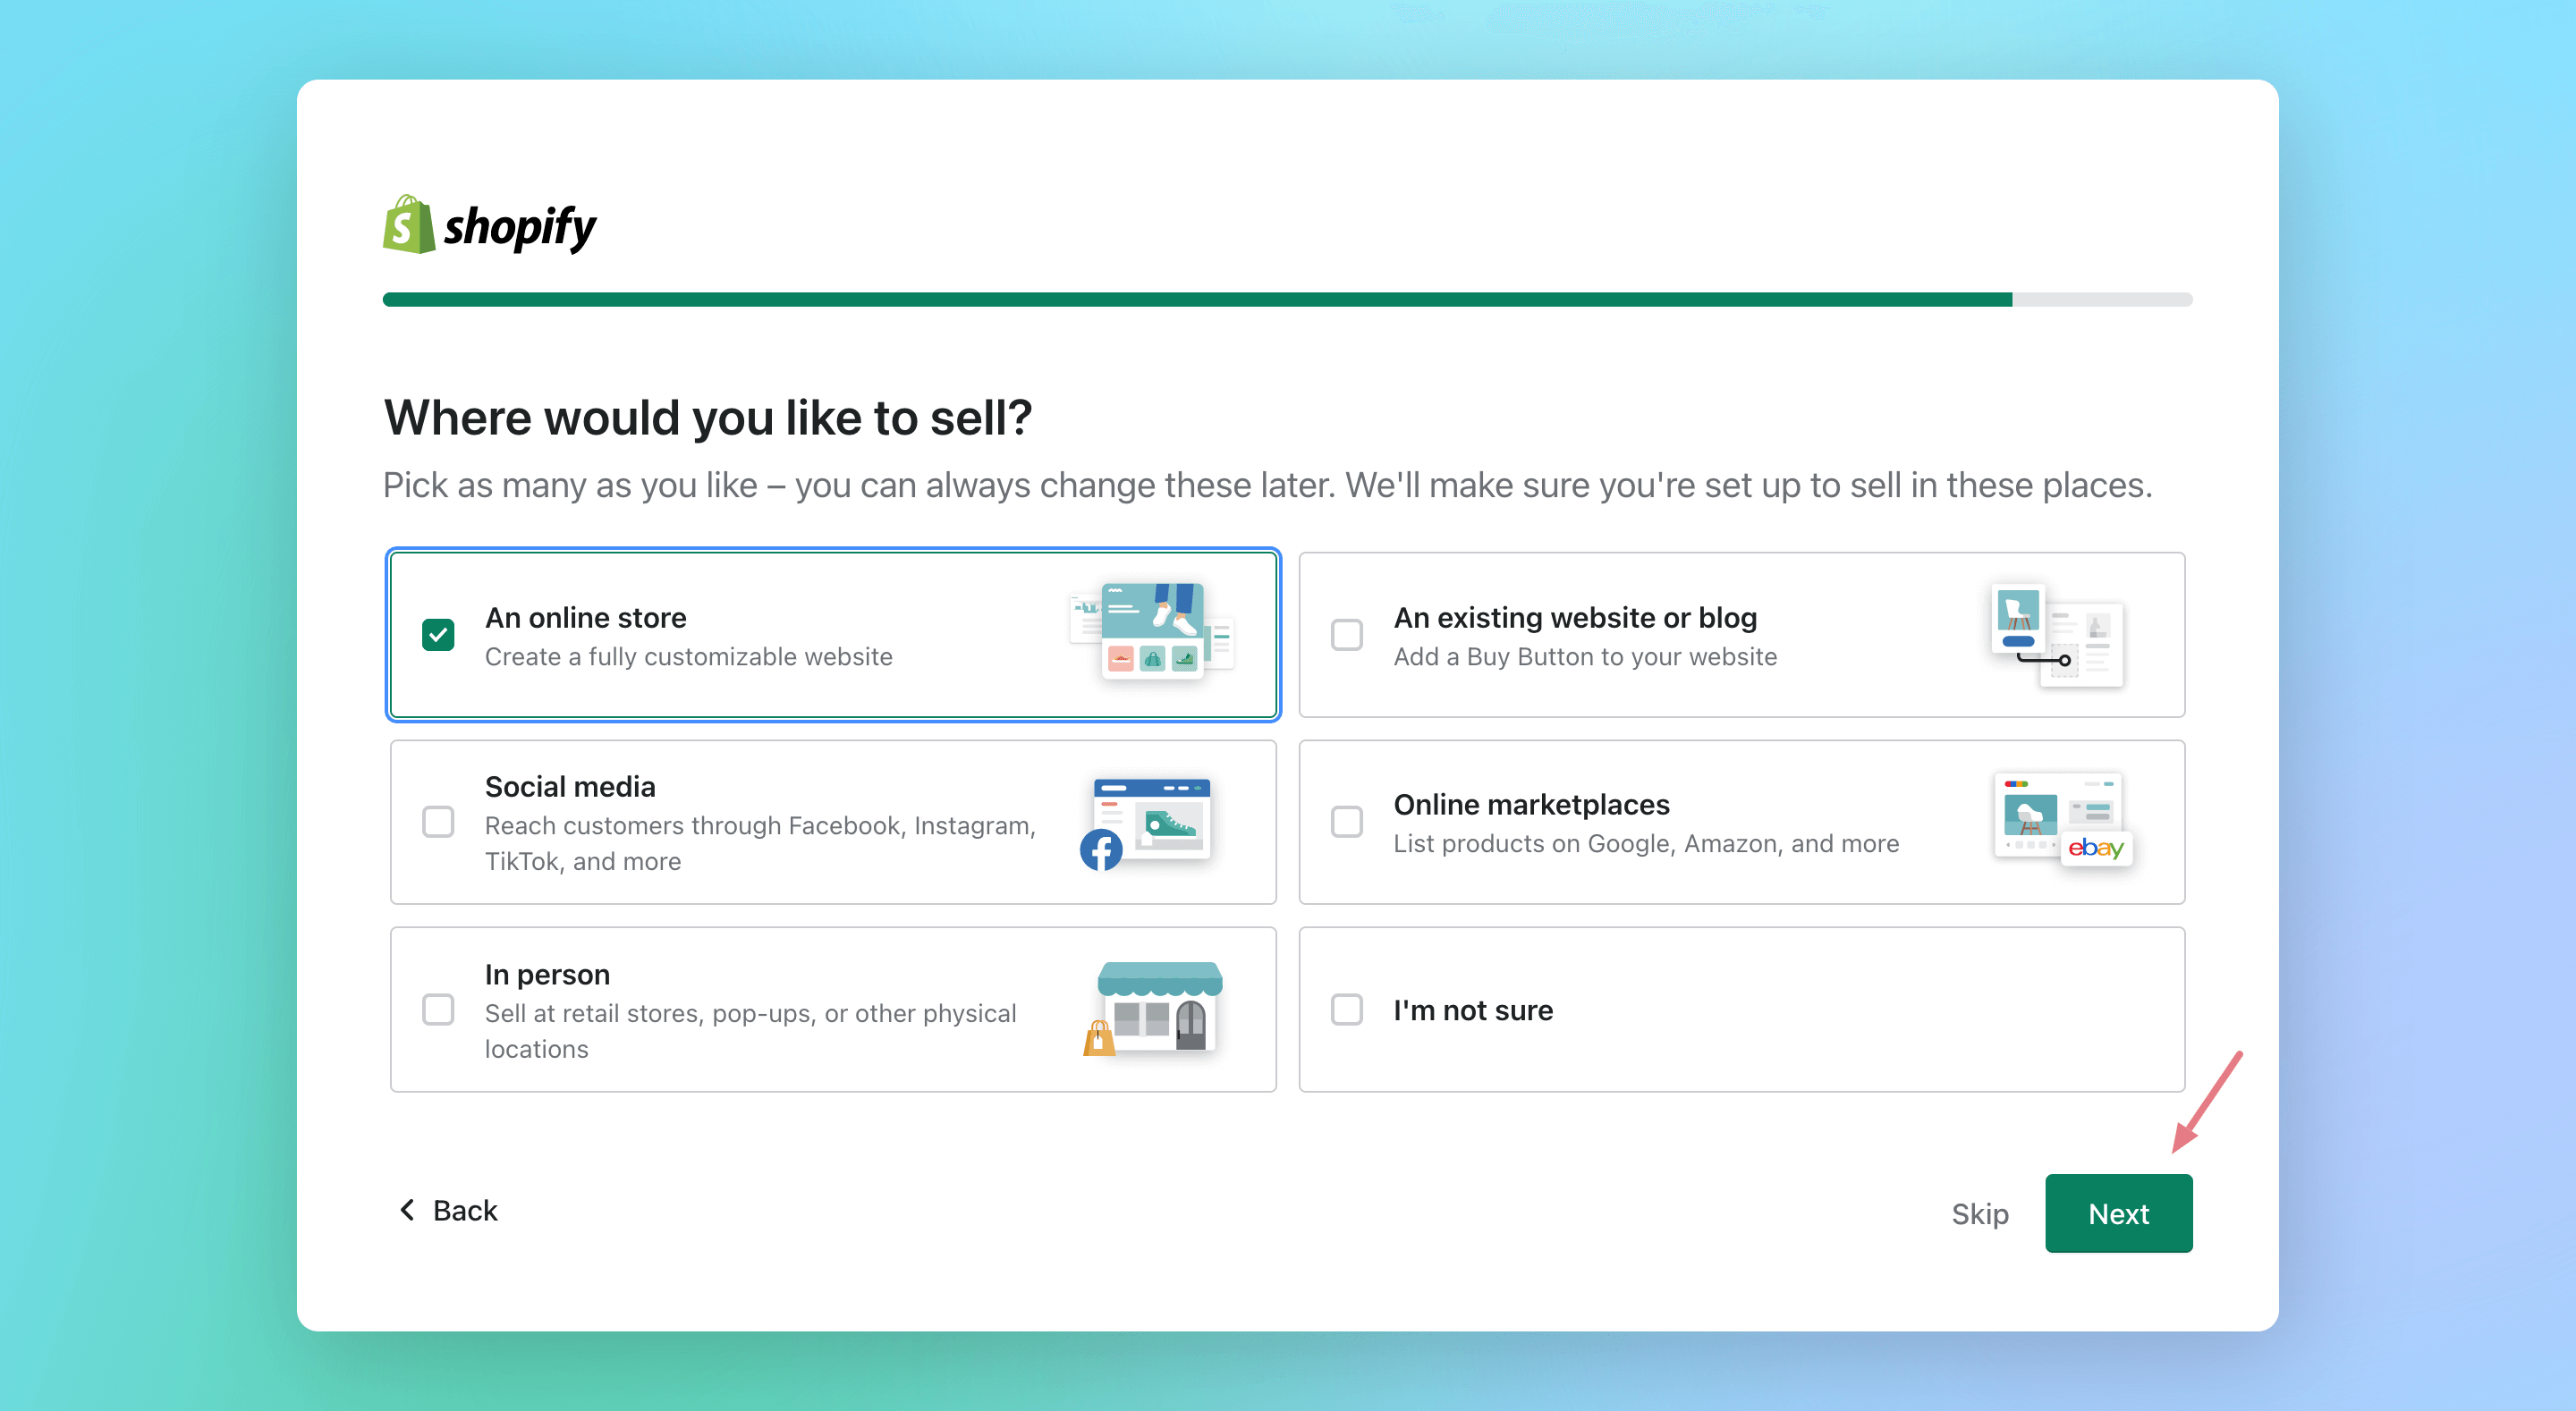
Where would you like to sell? Simply tick which describes your business most and click “Next” so they can tailor you a better Shopify experience.
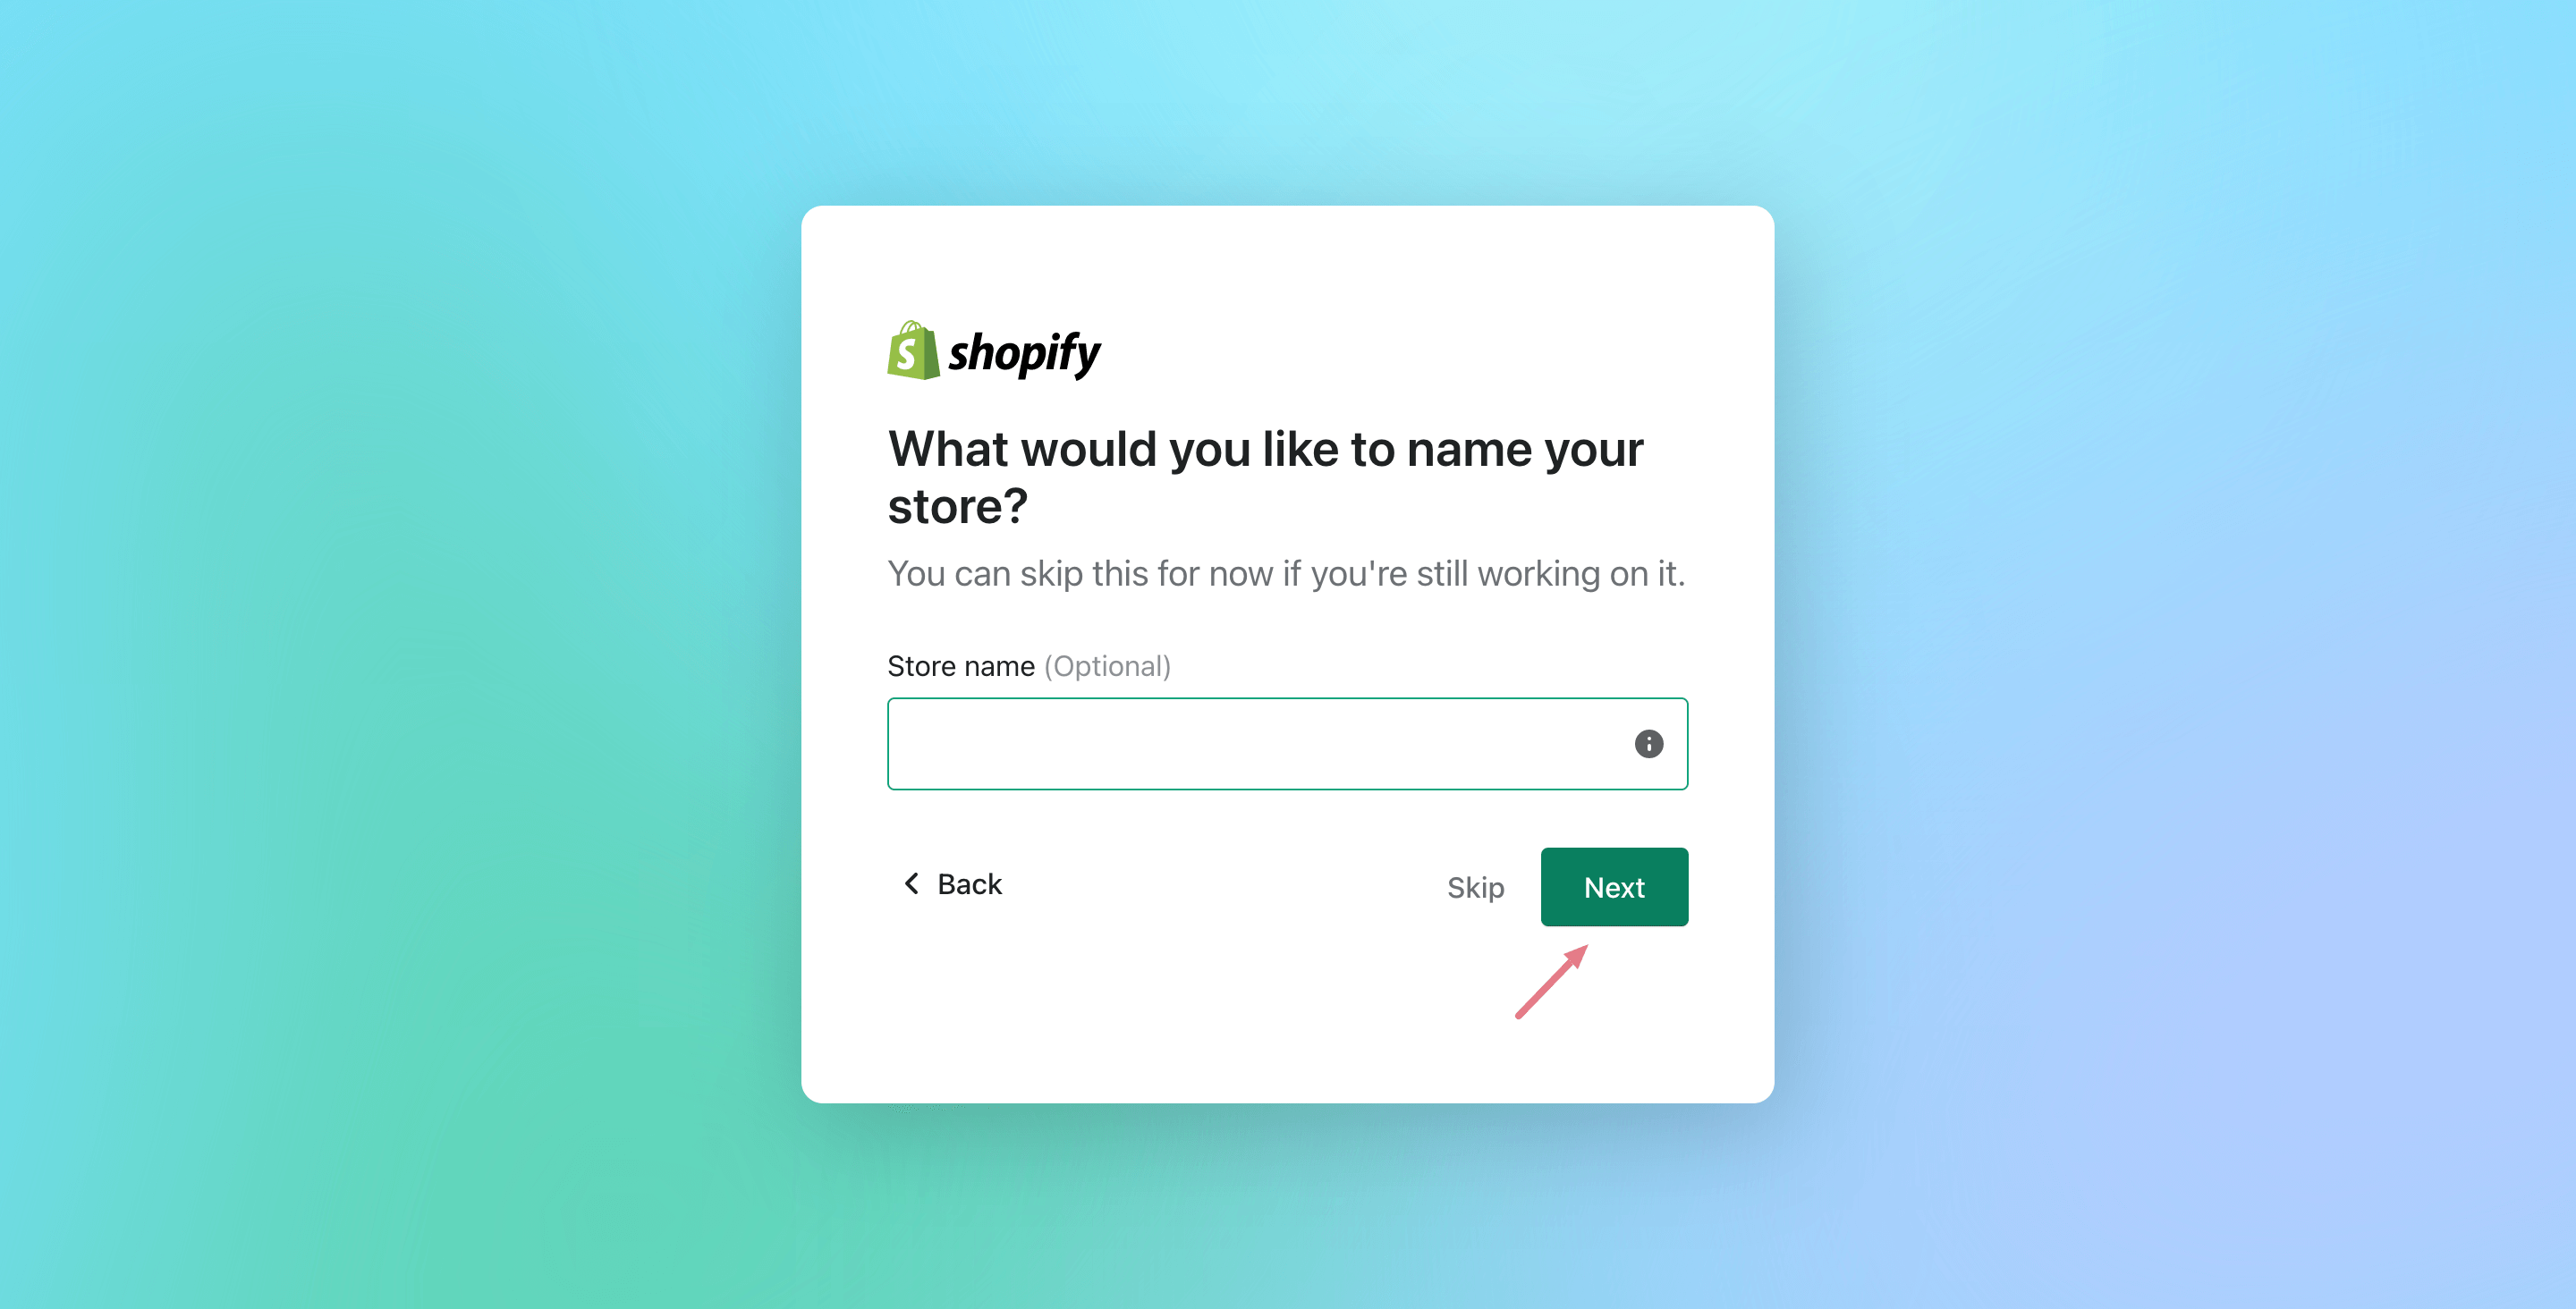
Your shop name is how customers will find you online, so choose something memorable and easily searchable.
Brainstorm a few ideas before deciding on the name
Once done, give a name for it and click “Next.”
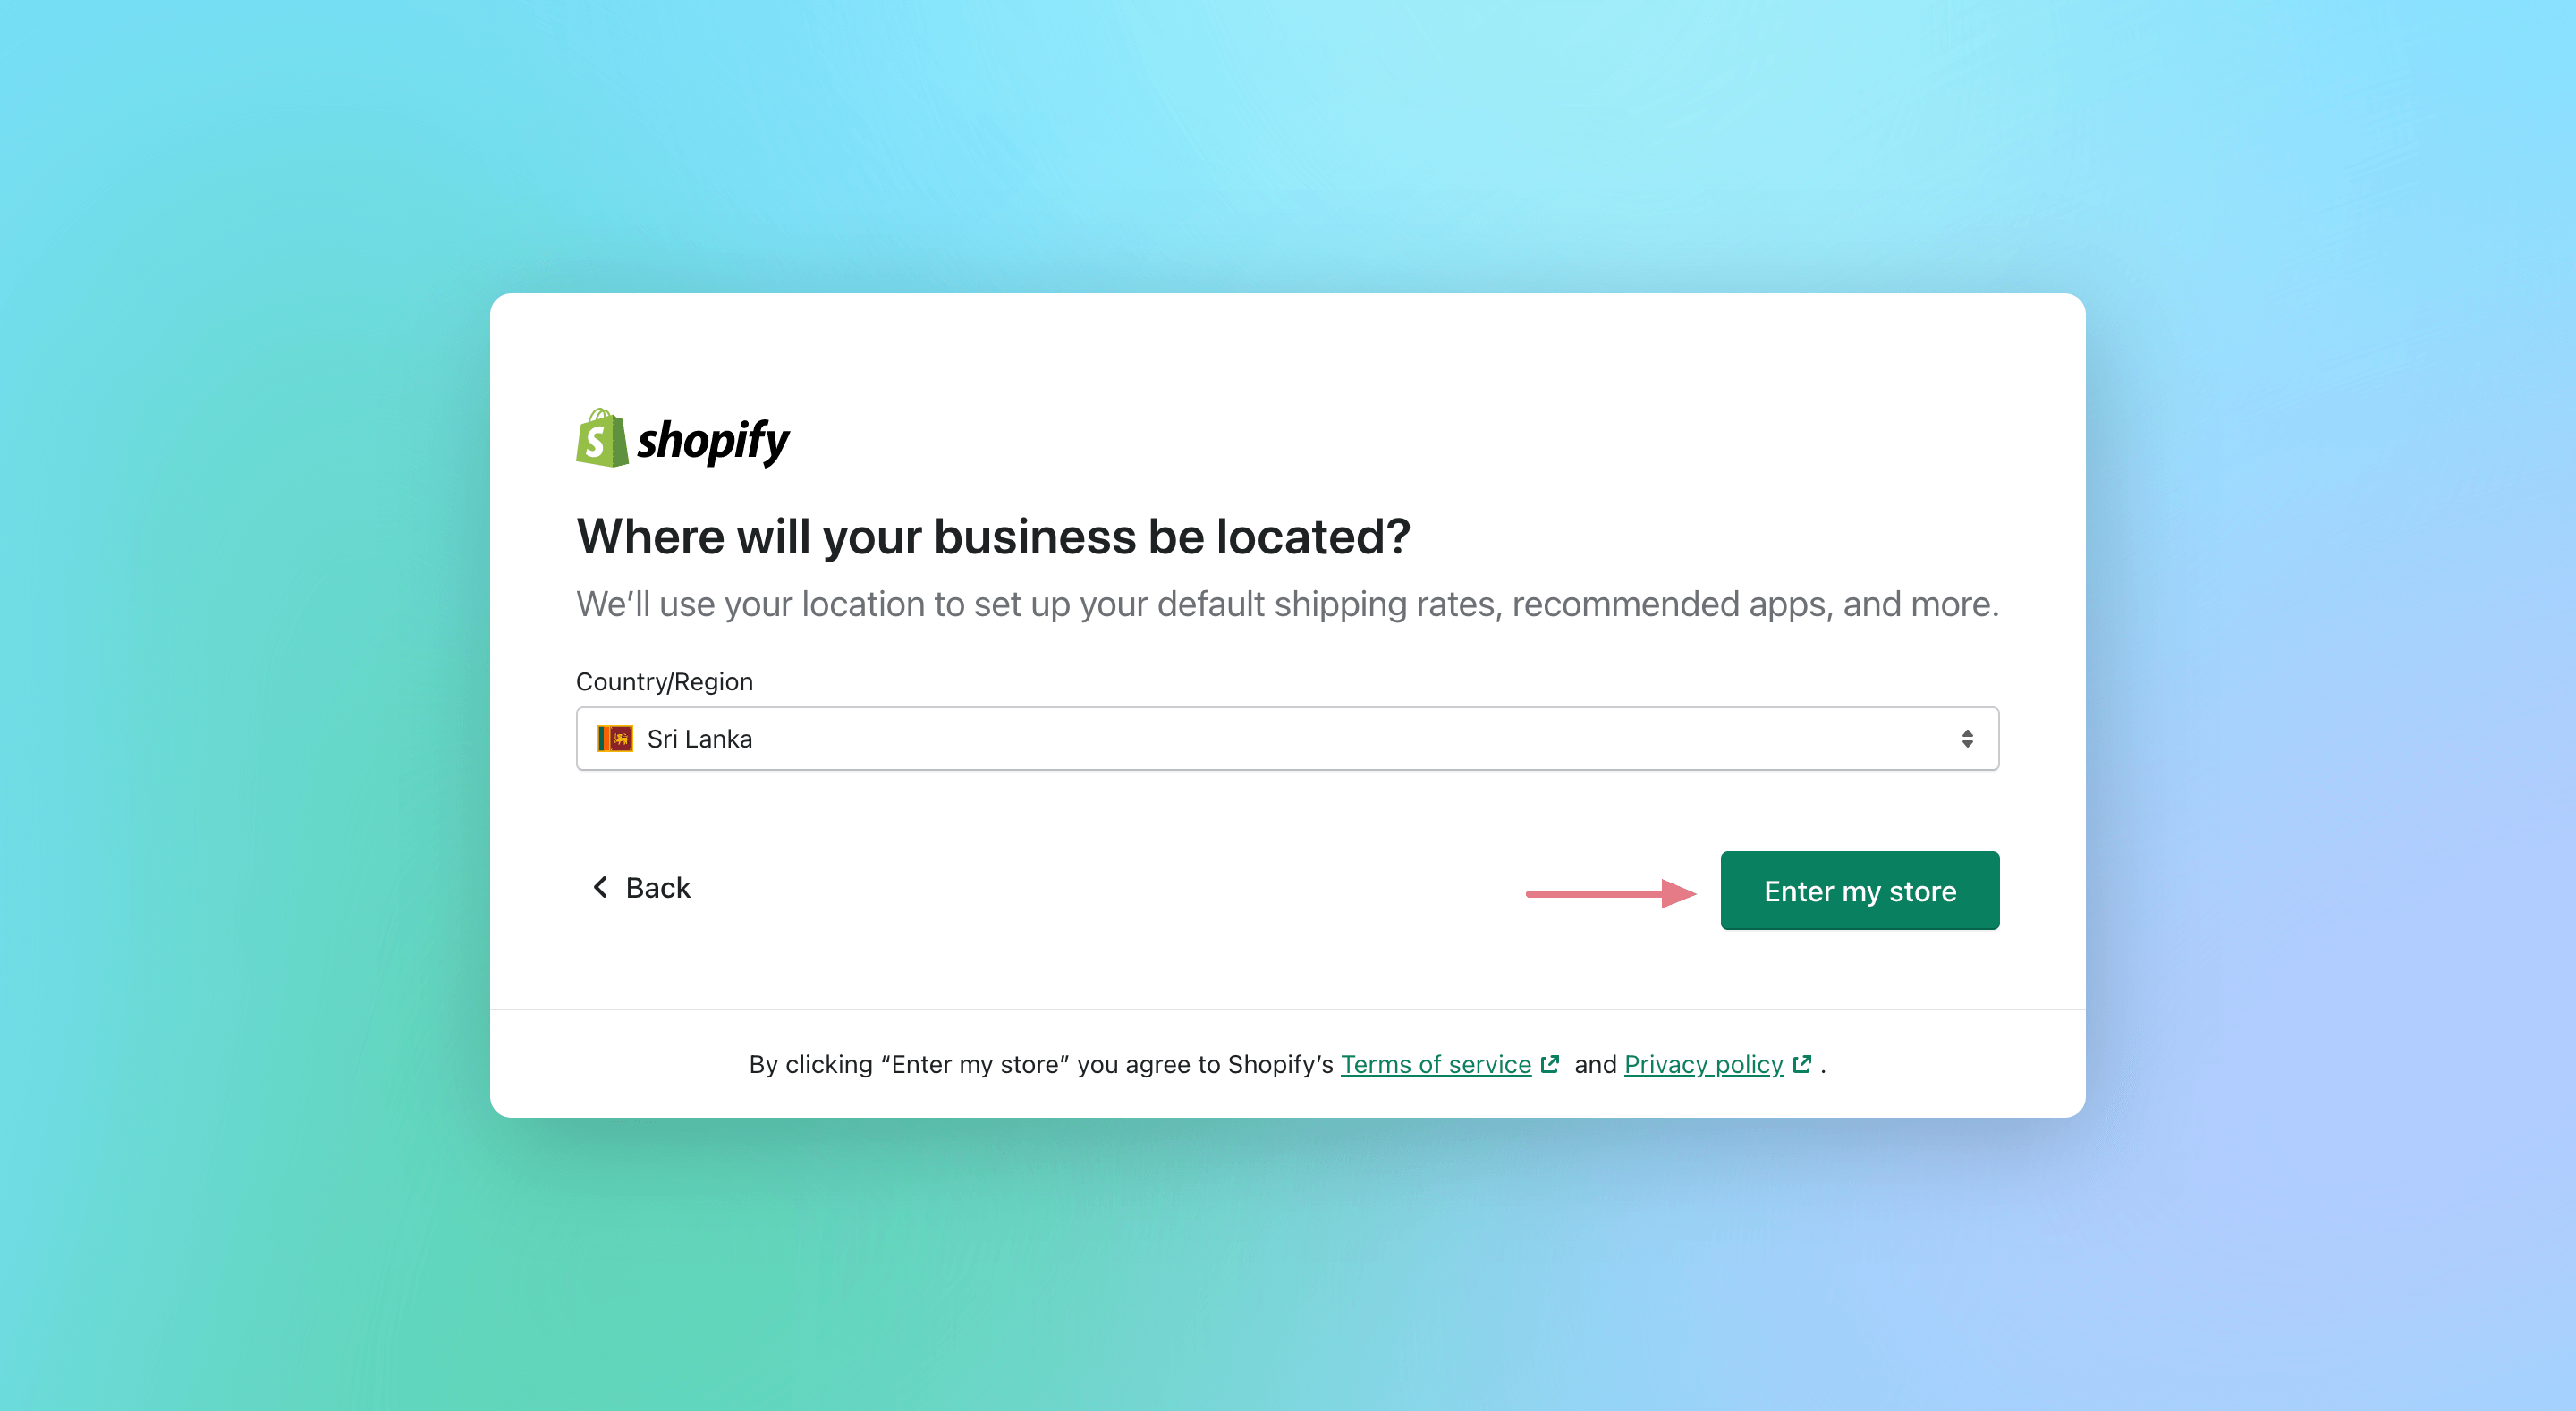
Lastly, tell them where your business is located and then click on the “Enter my store” button to complete the signup process.
After all, Shopify will ask you to create an account with them. Sign up with your Google account or use your email to create a new account.
Congratulations! You’ve finally taken the first step and signed up for Shopify.
Note: At this time, you may receive a confirmation email from Shopify asking you to verify your email address. Simply click the link in the email and you’re good to go.
Step 2: Choose Theme
Next step is to choose a Theme
Now go to online stores, select theme

if you need to check other themes
scrolldown click on visit Store theme
Step 3 : Branding
Once you select the right one for you
Click the Customize

once you click the costmize, this will take us to store editor page
first add a nice banner image to our home page

click on image banner, then upload image
once you upload the image you like , change banner text
Now time to change logo

click Theme setting under logo, upload you logo,
once it is done it will be like this
if you want you can change colours , with this you can successfully create brand name for your story
Now time to add Product to your online store
for this we need to go to Dashboard

If you are Dropshipping products from sites like aliexpress or Printify you can directly upload from them
Incase If you are using your own products

Click Products on Dashboard and then click Add your products
Then Add product titles , if you feel difficultly click AI for product description
it will automatically create description based on your keywords.
Scroll down Click Add high quality images
choose 4 pictures Front, back, and the picture of holding the objects, or wear it

Scroll down choose the Price for your product
then click Track your inventory
make sure to add shop location – 100 or more

if you have multiple colour chick under variants add colour
once it is done click save
now your product is ready ,

Repeat the process to add more Products, for example in the above picture we add, cap, hoodie, Shorts ,
Step 5: create Collection
let’s click the button Collections, Under Products Button
If you are creating a hoodie , select the title Hoodie

then click manual ,
then Right side , you can add collection image
then click save
scroll down you will see products
click it Add product to this collection,
next step is to Customize Store
Step 6: Customize Store

Go to the Dashboard ,Now click the online store click customize,
now you see feature products to remove this click Remove Selection

now add your Collection ,if yours is clothing brand
add hoodie, shorts , jeans
you can switch pages by clicking above change the content as you like

Step 7: Navigation Menu

Next one Navigation menu,


Go to the Dashboard click online store then select Navigation

click main menu, change and add to the menu on header
Step 8: Store policy
Shopify has the best Store policies
To put Privacy policy and terms and conditions on footer menu,
Go to Bottom left of the page you willl settings , click on settings
it will take yoyu settings page click policy
Add Privacy `policy
and shipping policy
and contact information
select policy , contact information

now go to online store click Navigation Add Footer Menu,
Step 9 : Payment Process
ayment process is the main thing in online store without it you won’t get paid any thing
To Active Payments ,Go to dashboard, on the Bottom left click
Settings

it will take you to settings pages ,
in the settings page click on Payments
then click on Activate Shopify Payments

Then fill the form, this will enable customers to choose
many different payment options like credit card , Apple Pay, Shoppay and Paypal.
Step 10: Shipping Rates
To active Shipping and delivery rates
go tothe settings page Click on Shipping and delivery

it will take you to Shipping and delivery
here you can set different shipping rates based on the country you want to ship your product

you can also add shipping rates based on the product weight.
My suggestions is Free Shipping is the best option ,
If your products is 30$ Shipping cost will be 9$
If you put 39.99$ on your product , for free shipping
i will increase your sales. make sure your product is unique
Step 11: General Settings
These are few details you should look at in settings page

Click Store Details make sure you fill the Details
like Store Name , Store Email , Billing Information
and also store currency
If you need collect taxes , you can set those up Under Taxes And Duties
Scroll Down and Click on Brand

here you can add logo, and add colour to your online store
Step 12: Domain Setup
Domain is the Url Address to your online store
To Add Domain , On the settings page, Scroll down , left side,
you will find Domain button
clic on it, if you already have a domain Click bExisting Domain ,

if you don’t have a domain yet click buy new domain
You can buy new domain here price will in between 10 $ – 30$
When it is done it will be automatically connect to your new store
Step 13: launch Your Online Store
go to Dashboard , click Online Store
First, choose your Shopify plan.
To do this go to your Shopify admin > Settings > Plan > and click “Choose a plan” to pick the one that best suits your needs.

For this you need to select a plan , Now click on Pick a Plan
The Basic Shopify plan is $29 per month, and it’s a good choice for small businesses just getting started with eCommerce. (Note that the Shopify plans can vary by region.)
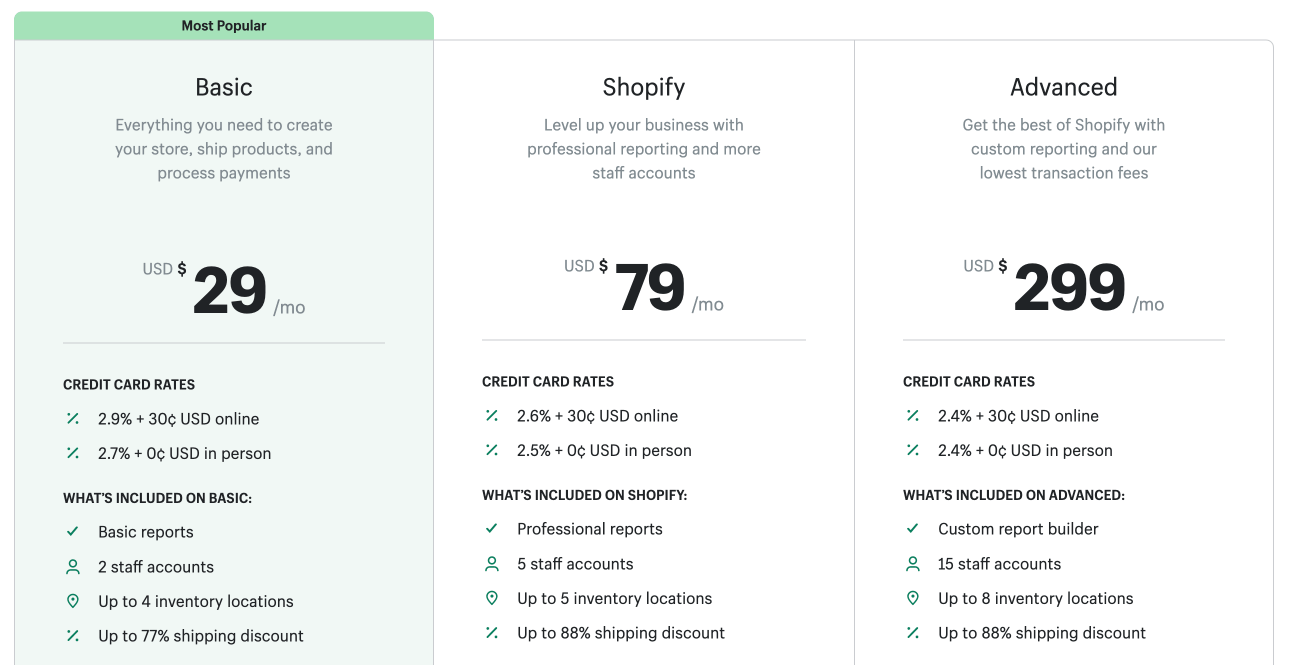
The Shopify plan is $79 per month, and it gives you access to more features. The Advanced Shopify plan is $299 per month, and it’s best for high-volume businesses.
If you are First time user, you only have to pay 1$ for 3 months then after 3 months 29$ / Months , in these 3 months you have can make 1000$ per month from your Store

Choose Basic Plan, And then choose the billing cycle then
fill all necessary information and click confirm

Click Remove Password , Now your Store is Officially Launched .
Congratulations on taking the first step towards starting your eCommerce business!
A Shopify store is a great way to reach a wider audience and boost sales.
So why not give Shopify a try? Click here if you haven’t tried Shopify yet.
Happy selling!